Wednesday, August 31, 2011

Sneak peek at my drawers.

My first attempt at a chest and drawers left me with no chest and 2 drawers. It's just as well because I salvaged part of a lump of plastic enough to do a sizing test on. So for round 2 of the chests, I had to break it down into 3 parts. If the prints tonight work, I'll publish everything on Thingiverse tomorrow.


Filament Spool Completed

I hit up Thingiverse.com for a spool holder design.  Turned out fairly nice.  Took 3.5 hours to print.

Print-O-Matic Settings:
Makerbot #5209
Fill: 30%
Layer Height: 0.30mm
Number of Shells: 2
Feed Rate: 25


Awesomeness covered with win & wrapped in bacon.

This glow stick candelabra absolutely blows me away. After I finish my current project, I'm going to print one of these. This is also why I need to convince my wife that I need 3 more Thing-o-Matics.

Tuesday, August 30, 2011

Makerbot #5209 20mm Test Cube.  

For the life of me I can't seem to figure out layer #1, but the rest of it looks nice.


Blogtastic.

I've been trying to learn everything I can about designing in Sketchup. Just reading Sketchup for Dummies helped immensely. Tonight I'm working on a chest of drawers. I'll post it to Thingiverse when I get it right.

Looking forward to working with Ben to draw all Makerbot owners in Ohio out of the woodwork, er plastic work.

Makerbot #5209 First Print

Makerbotter #5209 being a newest kid on the block.  Received his printer, took 20 hours to build.  16 hours of that being straight through the night.  After tightening the bolts, setting the Z Axis Calibration, and waiting for the HBP and extruder to heat up, below was his first print.  Not to exciting, but hey it was printing ABS 3mm plastic!


Well that was lack luster.  Problem was the HBP connector kept bumping into the X stage end stop.  Shutting down printing.  The printer would move the X stage over and begin printing again, only to hit the end stop.  First Try #1 aborted.

Try #2 below


Well as we can see the second pass was not successfully completed.  Seems Makerboth #5209 had a computer crash, hence a reboot was needed.

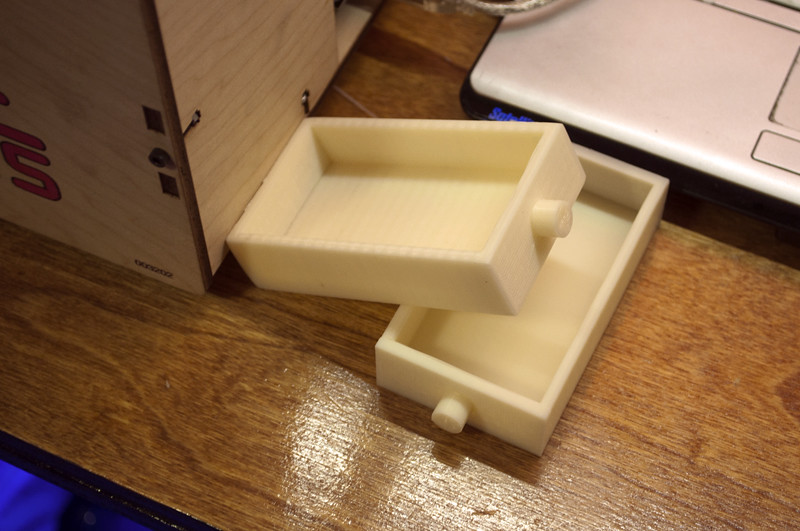
3rd Time is the Charm!!


Well it isn't perfect, but for a new member of the 3D community, this is very exciting. 


Thaed and his robotic arm. A new version of the ABP

Description

This is a "Robotic Arm Edge" kit with a USB interface Kit. Building the ToMs definitely helped me to put this together. My plan is to use it in conjunction with remote builds where I control the machines and USB cameras via Logmein.

Thaed makes front page of Thingiverse.com

Description

What self-respecting nerd wouldn't have one of these things lying around? Originally, I wanted it to be solar powered, but I had to settle for AAA batteries. I scavenged the motor and propeller from a 6 in 1 educational solar kit. There's no reason why you can't print your own propeller and use a motor from a cd player or really any motor.

Instructions

Print with 0 infill and no shells. Use drill press to make the hole for the motor. Connect wires, add on/off switch if you want, glue everything up in the beanie. Represent nerdom.